How to Prevent Cracks & Gaps with the Right Jointing Compound
Cracks and gaps in walls and ceilings are common issues in construction and renovation projects. These imperfections not only affect aesthetics but also weaken structural integrity. The best way to prevent cracks and gaps is by using the right jointing compound during drywall and false ceiling installations.
A high-quality jointing compound ensures seamless finishes, enhances durability, and prevents future surface damage. Whether you’re a contractor, builder, or DIY enthusiast, understanding how to prevent cracks and gaps with the right jointing compound will help you achieve long-lasting, smooth interiors.
1. Why Do Cracks & Gaps Appear in Walls and Ceilings?
Before learning how to prevent cracks and gaps with the right jointing compound, it’s important to understand what causes them:
✅1. Structural Movement
- Buildings naturally expand and contract due to temperature changes.
- Weak joints and improper materials lead to visible cracks.
✅2. Poor-Quality Materials
- Using low-grade plaster or jointing compounds causes shrinkage and uneven finishes.
- Choosing the right jointing compound ensures long-lasting results.
✅3. Incorrect Application
- Inconsistent application thickness can create weak spots.
- Lack of proper sanding and finishing leads to gaps forming over time.
✅4. Moisture & Humidity
- High moisture content in walls can cause cracks to develop.
- Water-resistant jointing compounds prevent moisture-related damage.
2. How to Choose the Right Jointing Compound to Prevent Cracks & Gaps
✅1. Type of Jointing Compound
- Ready-Mix Jointing Compound: Ideal for quick and easy application.
- Powdered Jointing Compound: Offers more control over consistency.
- Fast-Setting Jointing Compound: Best for urgent projects requiring a faster drying time.
✅2. Crack-Resistant & Flexible Formula
- Ensure your jointing compound has anti-shrinkage properties.
- Look for flexible compounds that accommodate slight structural movements.
✅3. Compatibility with Gypsum Boards & Plaster
- Choose a jointing compound that adheres well to drywall and gypsum plaster.
- Ensure smooth blending with paint and finishing coats.
✅4. Moisture &Mold Resistance
- If applying in high-humidity areas, opt for a moisture-resistant jointing compound.
This prevents long-term damage from dampness and mold formation.
3. Step-by-Step Guide to Applying Jointing Compound for a Crack-Free Finish
Using the right jointing compound correctly is key to preventing cracks and gaps in walls and ceilings. Follow these steps for the best results:
✅Step 1: Prepare the Surface
- Ensure walls and ceilings are clean, dry, and dust-free.
- Fill any large gaps or holes before applying the compound.
✅Step 2: Mix the Jointing Compound Properly
- For powdered jointing compounds, mix with water until smooth.
- Avoid lumps to ensure a consistent and even application.
✅Step 3: Apply the First Coat
- Use a putty knife or trowel to spread the jointing compound evenly over joints.
- Feather the edges for a smooth transition to the surrounding surface.
✅Step 4: Embed Joint Tape
- Apply fiberglass or paper joint tape over wet compound.
- Press gently to eliminate air bubbles and ensure firm bonding.
✅Step 5: Apply Second & Third Coats
- Let the first coat dry completely before applying additional layers.
- Each coat should be thinner than the previous one for a smooth blend.
✅Step 6: Sanding & Finishing
- Once fully dried, use fine-grit sandpaper to smooth the surface.
- Remove excess dust before applying paint or wallpaper.
4. Common Mistakes to Avoid When Applying Jointing Compound
Mistake | Impact | Solution |
Skipping Surface Preparation | Leads to weak adhesion | Clean and prime surfaces before application |
Applying Too Thickly | Causes uneven drying and cracks | Use thin, even layers |
Not Using Joint Tape | Increases risk of gaps forming | Always embed joint tape over seams |
Sanding Too Soon | Damages unfinished layers | Wait until compound is fully dry |
Ignoring Moisture Control | Leads to future cracks and mold growth | Use moisture-resistant jointing compound |
5. Where to Use Jointing Compound for a Smooth, Durable Finish
✅1. Drywall & Gypsum Board Joints
- Essential for filling gaps between gypsum boards in walls and ceilings.
- Prevents cracking and separation at joints.
✅2. False Ceilings & Decorative Designs
- Ensures seamless integration of false ceiling panels.
- Helps in creating smooth decorative patterns and edges.
✅3. Corner Joints & Edges
- Use along corners and trims for a flawless finish.
- Prevents chipping and cracking in high-traffic areas.
✅4. Repairing Cracks & Dents
- Perfect for fixing minor imperfections in plastered walls.
Works well for patching up holes and surface damages.
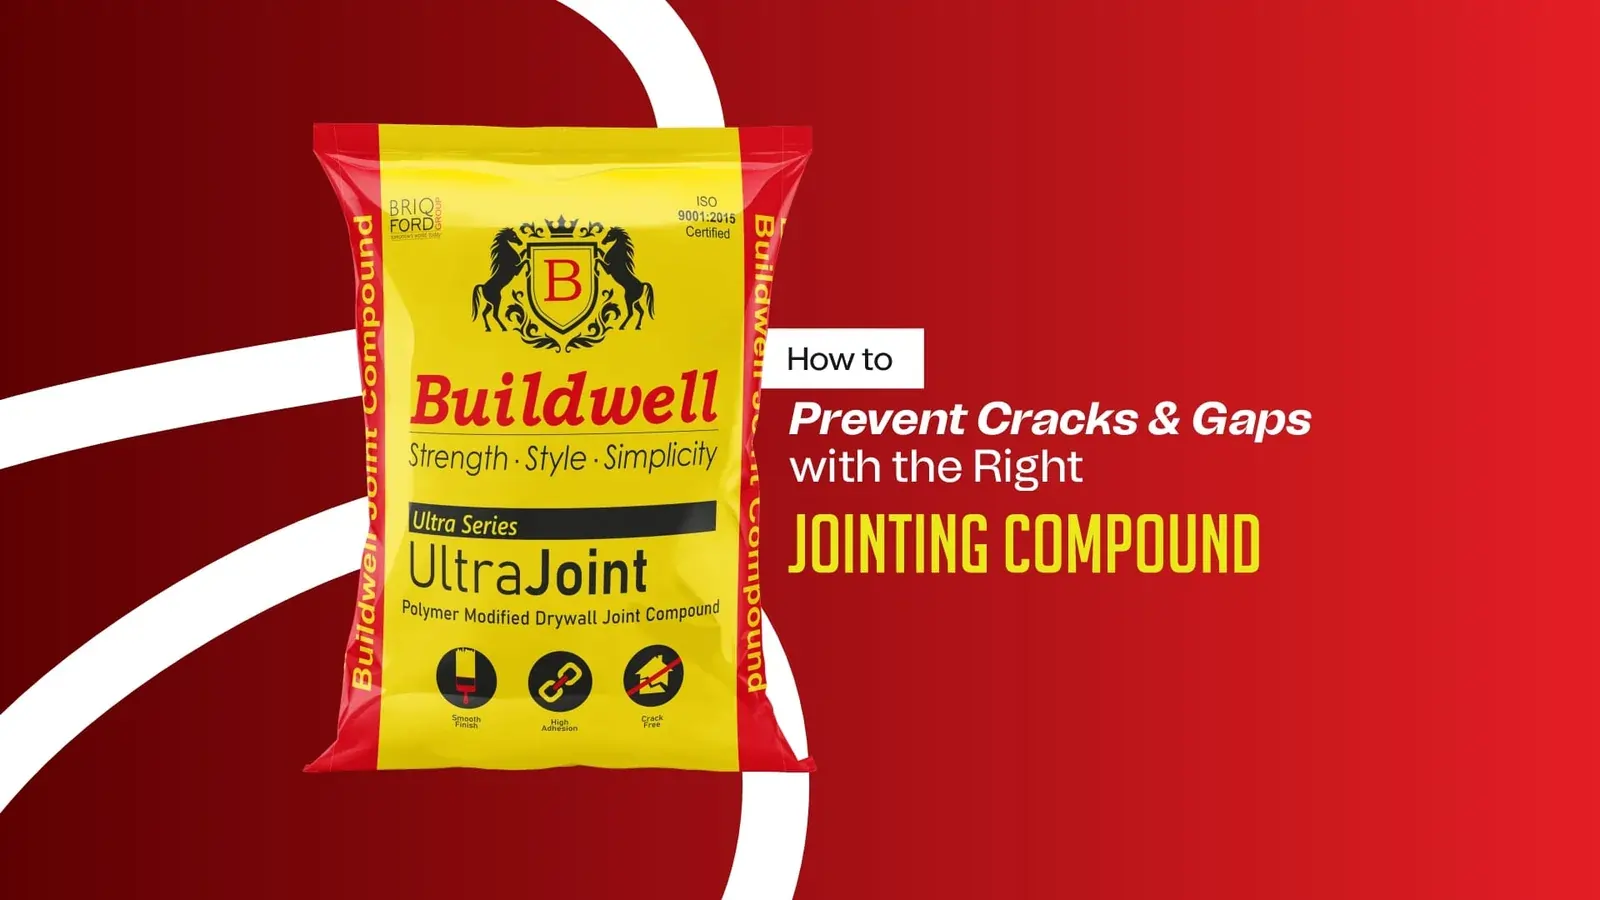
Conclusion: Achieve a Perfect, Crack-Free Finish with Buildwell Jointing Compound
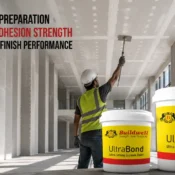
Using the right jointing compound is crucial for preventing cracks and gaps in drywall, ceilings, and plastered walls. With Buildwell premium jointing compounds, you can achieve a seamless, long-lasting finish that enhances the durability and beauty of your interiors.
📌Upgrade your walls and ceilings today with Buildwell’s best-in-class jointing compounds – engineered for perfection!🚀