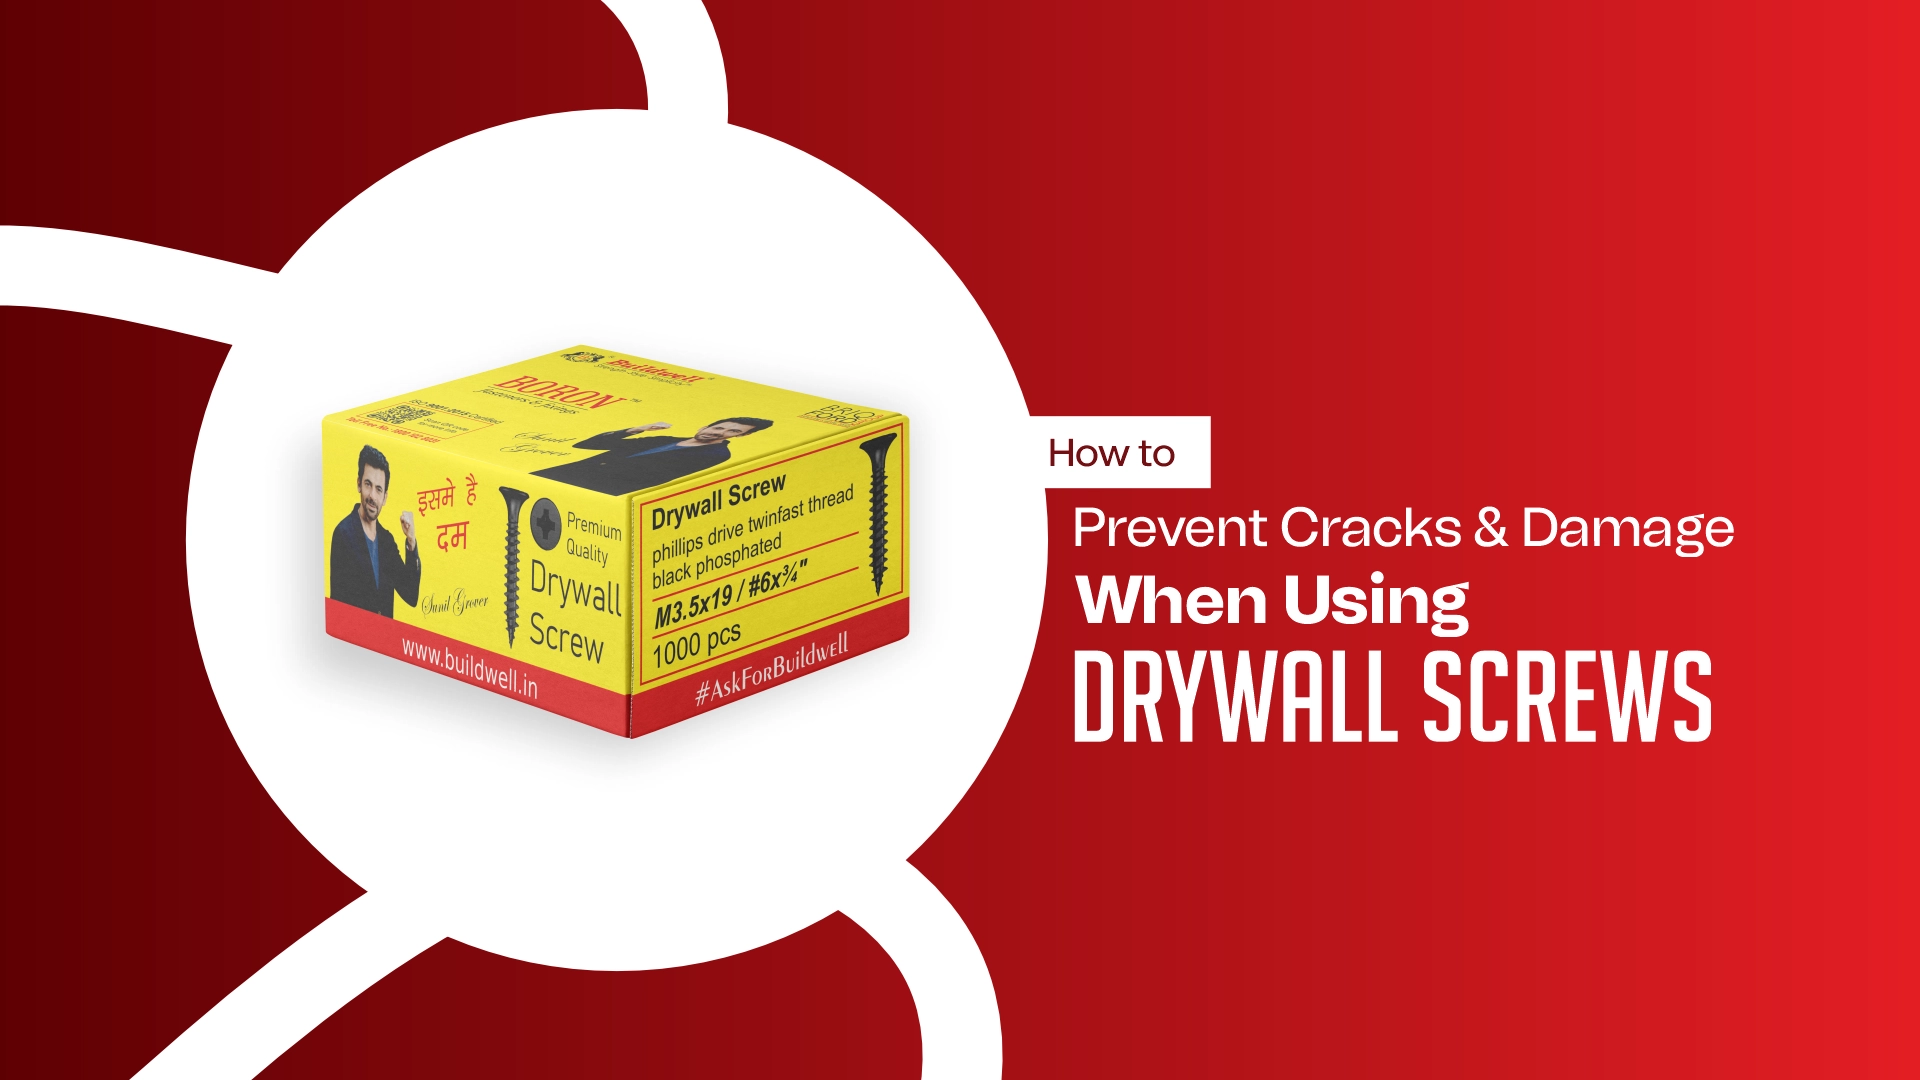
How to Prevent Cracks & Damage When Using Drywall Screws
Drywall is an essential component of modern construction, offering a smooth, durable surface for walls and ceilings. However, incorrect drywall screw installation can lead to cracks, damage, and weak joints, compromising the integrity of the structure. Whether you’re a contractor, builder, or DIY enthusiast, knowing the best techniques for installing drywall screws is crucial for achieving a strong and seamless finish.
In this guide, we’ll explore common causes of drywall damage and provide expert installation techniques to help you prevent cracks, weak spots, and screw pops.
1️⃣ Common Causes of Drywall Cracks & Damage
Before diving into best practices, it’s important to understand the main reasons why drywall gets damaged during screw installation.
✅ 1. Over-Tightening the Screws
- Driving the screw too deep can puncture the drywall’s paper surface, reducing its holding power.
- Over-tightened screws weaken the surrounding material, increasing the risk of cracks and loose joints.
✅ 2. Using the Wrong Type of Screws
- Standard screws may not be strong enough to hold drywall securely.
- Using non-coated or low-quality screws can lead to rust, corrosion, and structural failure over time.
✅ 3. Incorrect Screw Spacing
- Placing screws too far apart can cause weak joints, leading to cracks.
- Screws that are too close together put excessive pressure on the drywall, increasing the risk of splitting.
✅ 4. Insufficient Support Behind Drywall
- If there’s no proper backing (like studs or metal framing), screws may not grip securely.
- Unsupported drywall is prone to flexing and cracking under pressure.
✅ 5. Using the Wrong Screwdriver or Drill Bit
- Manual screwdrivers often don’t provide consistent torque, leading to uneven screw depths.
- Wrong drill bits can cause slipping, stripping, or improper countersinking of screws.
2️⃣ Best Techniques for Installing Drywall Screws Without Damage
To achieve a flawless drywall installation, follow these proven techniques to prevent cracks and ensure a secure hold.
✅ 1. Choose the Right Drywall Screws
- Use corrosion-resistant screws (e.g., phosphate-coated or galvanized screws) to prevent rust.
- Select the correct length:
- 1-inch screws for single-layer drywall.
- 1.25-inch to 1.5-inch screws for thicker drywall or multiple layers.
- Opt for coarse-thread screws when fastening to wood studs and fine-thread screws for metal framing.
✅ 2. Pre-Drill Guide Holes for Precision
- If working with dense drywall, pre-drilling guide holes helps reduce surface stress and prevents cracking.
- This step is especially useful when installing screws close to drywall edges.
✅ 3. Maintain Proper Screw Spacing
- Follow standard screw placement guidelines:
- Every 12 inches for ceilings.
- Every 16 inches for wall panels attached to studs.
- Every 8 inches for drywall sheets in high-traffic areas.
- Keep screws at least ½ inch away from drywall edges to prevent splitting.
✅ 4. Set the Screw Depth Correctly
- Avoid over-tightening: Stop when the screw head is slightly recessed into the drywall surface.
- Use a drywall screw setter bit to achieve consistent depth without breaking the paper layer.
- If a screw goes in too deep, remove and replace it in a slightly different location for better support.
✅ 5. Use a Power Drill with Adjustable Torque
- Cordless drills with torque control provide even pressure, reducing the risk of stripping screws.
- Avoid using impact drivers, as they generate excessive force that can damage drywall.
✅ 6. Reinforce Joints with Proper Backing
- Ensure drywall is attached to sturdy studs or metal framing for maximum stability.
- Use drywall adhesive along with screws for extra holding strength in large panels.
✅ 7. Seal Screw Heads for a Smooth Finish
- After installation, cover screw heads with joint compound (spackle or drywall mud).
- Use a putty knife to smooth the surface, ensuring no visible screw impressions.
Sand lightly once dry for a seamless, paint-ready finish.
3️⃣ Additional Tips for Long-Lasting Drywall Installations
✅ Use Expansion Joints in Large Drywall Installations
- Prevents cracks caused by temperature changes and settling structures.
- Especially useful in ceilings and long wall sections.
✅ Control Moisture Levels in the Installation Area
- High humidity can weaken drywall material and cause screws to loosen over time.
- Use moisture-resistant drywall in bathrooms, basements, and kitchens.
✅ Inspect Screws Before Painting or Finishing
- Check for protruding or over-sunk screws and fix them before applying the final paint or wallpaper.
- Lightly sand any raised compound for a perfectly smooth look.
Conclusion: Secure & Crack-Free Drywall with Proper Screw Installation
Preventing cracks and damage when installing drywall screws is a matter of using the right techniques and materials. By selecting high-quality screws, maintaining proper spacing, and using the correct drilling method, you can ensure a smooth, secure, and long-lasting drywall finish.
For those seeking the best techniques for installing drywall screws, following these proven methods will improve installation quality and durability. Whether you’re working on a home renovation, office space, or large commercial project, these guidelines will help you achieve flawless drywall results.
📌Upgrade your drywall installation today with expert techniques to ensure long-