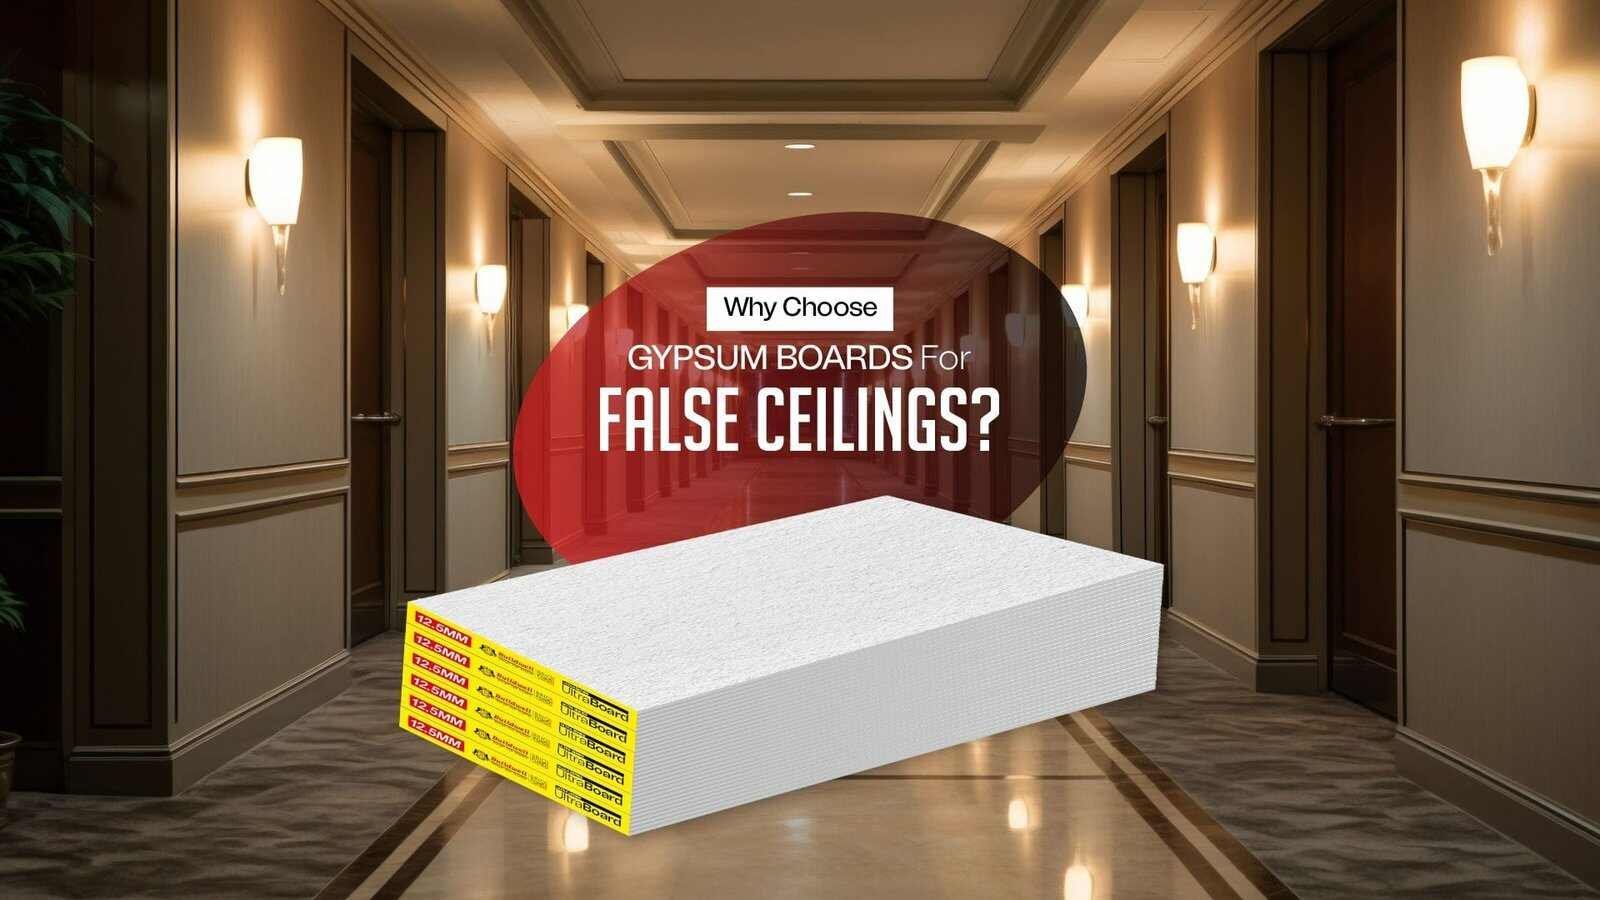
Why Choose Gypsum Boards for False Ceilings?
False ceilings are an essential component of modern interior design, providing aesthetic appeal, insulation, and improved lighting options. Among the various materials available, Gypsum Boards are the most preferred choice due to their lightweight nature, fire resistance, smooth finish, and durability. Proper installation of a gypsum board false ceiling ensures a long-lasting and visually appealing interior.
In this step-by-step guide, we will walk you through the entire process of installing a false ceiling with gypsum boards, covering materials required, best practices, and expert tips.
1️⃣ Tools & Materials Required for Installation
✅Essential Tools
- Measuring Tape
- Laser Level
- Chalk Line
- Electric Drill
- Drywall Screwdriver
- Utility Knife
- Plastering Trowel
- Putty Knife
✅Required Materials
- Gypsum Boards – Choose high-quality boards for a smooth finish.
- Metal Framing System – Includes ceiling channels, perimeter channels, and intermediate channels.
- Drywall Screws – For securing gypsum boards to the frame.
- Jointing Compound & Paper Tape – For seamless finishing.
- Anchor Fasteners & Plugs – To secure the metal framework to the ceiling.
- Primer & Paint – To give the ceiling a final touch.
2️⃣ Step-by-Step Guide to Installing a Gypsum Board False Ceiling
1: Measuring & Marking the Ceiling Layout
- Use a measuring tape and laser level to mark the desired ceiling height.
- Ensure that the false ceiling is at least 6-8 inches below the main ceiling.
- Draw a chalk line along the perimeter of the walls to guide the installation.
2: Installing the Perimeter Frame
- Fix the perimeter channels along the marked chalk line using anchor fasteners.
- Ensure the channels are level and securely fixed to the walls.
- Maintain a gap for lighting fixtures, AC ducts, or concealed wiring.
3: Installing the Metal Grid Framework
- Attach ceiling channels (main framework) to the perimeter channels using intermediate channels.
- Keep a standard spacing of 24 inches between channels for structural integrity.
- Use anchor fasteners to secure the grid system to the main ceiling.
4: Fixing the Gypsum Boards
- Place the gypsum boards carefully over the metal grid.
- Use drywall screws (1/2-inch or 1-inch) to fix the gypsum boards onto the frame.
- Maintain a gap of 1-2 mm between boards to allow for expansion and contraction.
5: Sealing Joints & Finishing
- Apply jointing compound over screw heads and along the joints.
- Use paper tape to reinforce the joints, preventing cracks.
- Once dry, sand the surface with fine sandpaper to achieve a smooth finish.
6: Painting & Final Touches
- Apply a primer coat before painting to enhance adhesion.
- Choose moisture-resistant paint for long-lasting durability.
Install LED strip lighting or cove lighting for enhanced aesthetics.
3️⃣ Common Mistakes to Avoid During False Ceiling Installation
❌1. Incorrect Ceiling Height Measurement
- Mistake: Not maintaining enough height clearance.
- Solution: Ensure at least 6-8 inches gap from the main ceiling.
❌2. Poorly Aligned Framework
- Mistake: Uneven metal framing leads to improper gypsum board fixing.
- Solution: Use a laser level and chalk line for precise alignment.
❌3. Using Insufficient Screws for Fixing
- Mistake: Loose gypsum boards due to fewer screws.
- Solution: Use screws at 12-16 inches spacing to ensure strong fixing.
❌4. Ignoring Proper Jointing & Finishing
- Mistake: Visible cracks and uneven surfaces.
- Solution: Use high-quality jointing compound and sanding techniques.
❌5. Not Considering Lighting & Electrical Points
- Mistake: Installing the ceiling without space for lighting fixtures.
- Solution: Plan the ceiling layout before installation to accommodate electrical wiring.
4️⃣ Benefits of Installing a Gypsum Board False Ceiling
✅Aesthetic & Modern Appeal
- Provides a sleek and elegant look.
- Enhances interior lighting effects.
✅Improves Thermal Insulation
- Reduces heat transfer, keeping interiors cooler.
- Helps in energy efficiency and lower electricity bills.
✅Fire & Moisture Resistance
- Gypsum boards are fire-rated and safe for all environments.
- Moisture-resistant variants prevent mold and mildew formation.
✅Acoustic & Soundproofing Benefits
- Absorbs echo and external noise, making it ideal for offices and home theaters.
✅Conceals Wiring & Fixtures
- Hides air conditioning ducts, electrical wiring, and lighting systems.
Conclusion: Achieve a Perfect False Ceiling with Gypsum Boards
A false ceiling made with gypsum boards not only enhances interior aesthetics but also provides functional benefits like insulation, fire resistance, and noise reduction. With proper installation techniques and high-quality materials, you can achieve a durable and visually stunning ceiling for your home or office.
📌Transform your interiors today with the best gypsum board false ceiling products!


