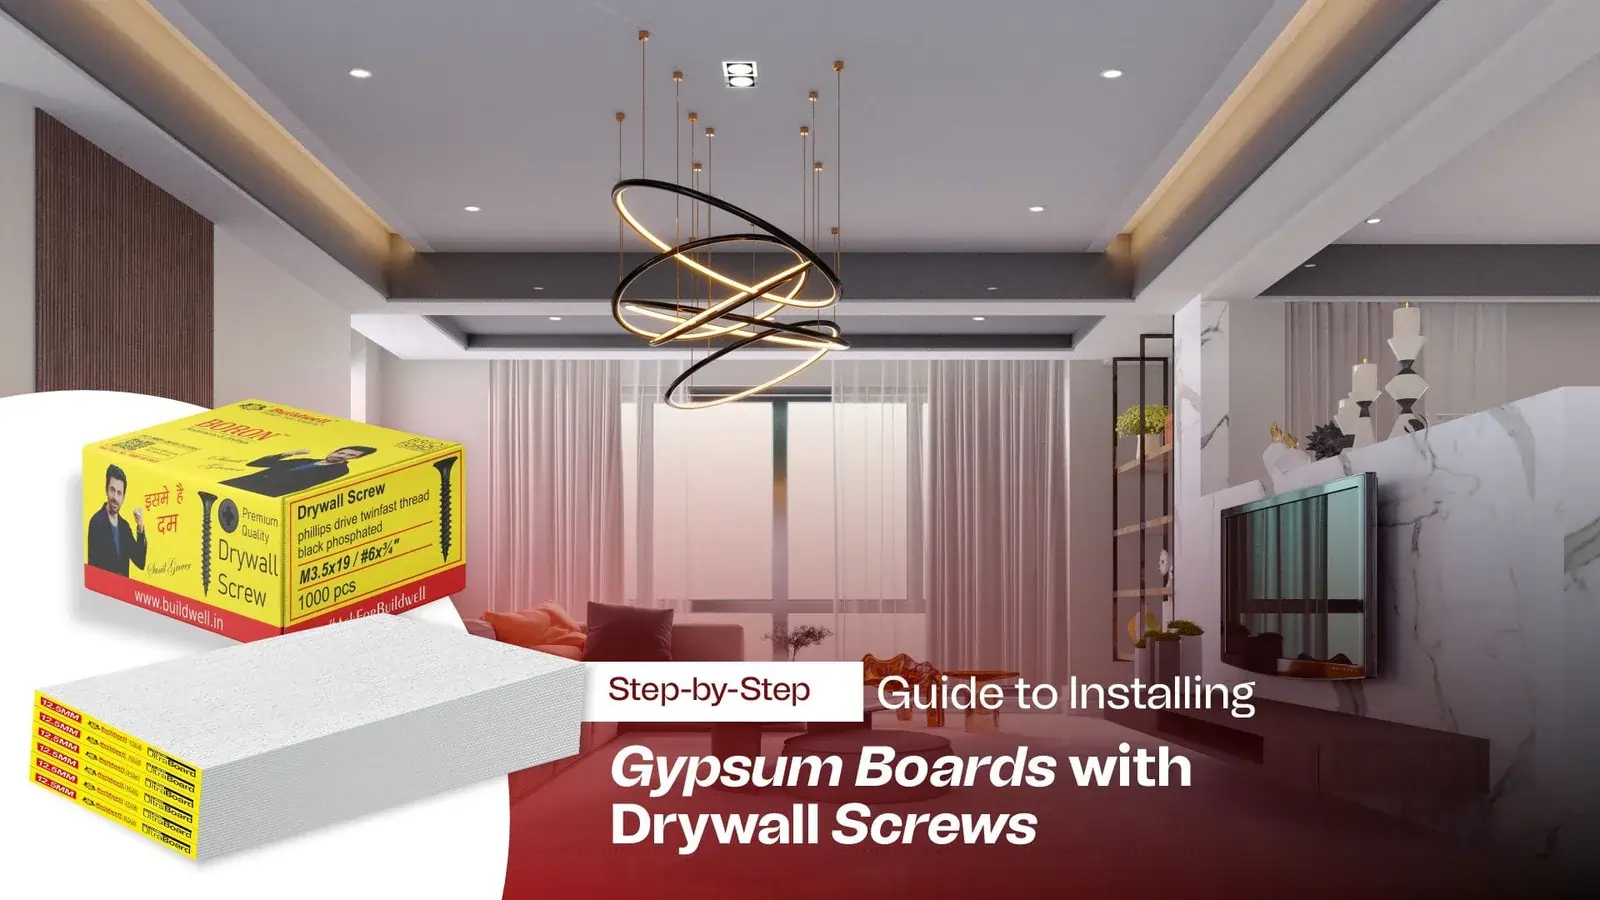
Step-by-Step Guide to Installing Gypsum Boards with Drywall Screws
Gypsum boards, also known as drywall or plasterboard, are one of the most popular materials for false ceilings, partitions, and interior walls. They provide smooth finishes, fire resistance, and soundproofing, making them ideal for both residential and commercial projects. However, to ensure stability and longevity, gypsum boards must be installed correctly using drywall screws.
This step-by-step guide will help you understand the best way to install gypsum boards with drywall screws, ensuring a strong and seamless interior finish.
1️⃣ Essential Tools & Materials for Installing Gypsum Boards
Before you start, gather the necessary tools and materials to ensure a smooth installation.
✅ Required Materials:
✔Gypsum Boards – Choose the right thickness (typically 12.5mm or 15mm).
✔Drywall Screws – Opt for corrosion-resistant, self-drilling screws.
✔Metal Framing or Wooden Studs – Provides the supporting structure.
✔Jointing & Finishing Compound – For sealing joints and screw holes.
✔Drywall Tape – Reinforces joints to prevent cracks.
✅ Essential Tools:
✔Power Drill or Screwdriver – For fastening drywall screws efficiently.
✔Utility Knife – For cutting gypsum boards accurately.
✔Measuring Tape & Pencil – Ensures precise board placement.
✔Spirit Level & T-Square – Helps achieve straight alignments.
✔Sandpaper or Sponge – For smoothing the surface after installation.
📌Pro Tip: Always use rust-resistant drywall screws to prevent corrosion and enhance durability.
2️⃣ Step-by-Step Guide to Installing Gypsum Boards with Drywall Screws
✅ Step 1: Prepare the Installation Area
- Ensure the wall or ceiling framework (metal or wood) is properly aligned.
- Remove dust, debris, and uneven surfaces to achieve a strong grip.
- Check the structural strength of the framework before installing gypsum boards.
📌Pro Tip: The spacing between metal or wooden studs should be 16 to 24 inches apart for maximum support.
✅ Step 2: Measure & Cut the Gypsum Boards
- Measure the wall or ceiling dimensions where the board will be installed.
- Mark the cutting lines on the gypsum board using a pencil and measuring tape.
- Use a utility knife or drywall saw to cut the board along the marked line.
📌Pro Tip: Score the gypsum board lightly and snap it rather than cutting completely through for a cleaner edge.
✅ Step 3: Position the Gypsum Board on the Frame
- Hold the gypsum board against the metal or wooden studs.
- Ensure the board aligns properly with the framework edges.
- Leave a 3mm gap between boards to allow for thermal expansion.
📌Pro Tip: If installing gypsum boards on a ceiling, use a drywall lift or get an extra hand to hold the board securely.
✅ Step 4: Fastening with Drywall Screws
- Use 1-inch or 1.5-inch drywall screws for standard gypsum board installation.
- Start at the center of the board and move outward to prevent warping.
- Space the screws every 12-16 inches along the metal or wooden studs.
- The screw heads should be slightly recessed but not deep enough to tear the paper surface.
📌Pro Tip: Use a drill with adjustable torque settings to avoid overdriving the screws into the board.
✅ Step 5: Sealing Joints & Screw Holes
- Apply jointing compound over the screw heads and along the board seams.
- Place drywall tape over the joints and smooth it down with a putty knife.
- Allow the compound to dry for 24 hours, then sand it lightly for a smooth finish.
📌Pro Tip: Apply two to three coats of joint compound for a flawless surface before painting or finishing.
3️⃣ Common Mistakes to Avoid When Installing Gypsum Boards
❌ 1. Over-Tightening Drywall Screws
- Can tear the gypsum paper, reducing grip strength.
- Always check that screws are flush with the surface.
❌ 2. Incorrect Screw Spacing
- Too few screws lead to loose and unstable boards.
- Too many screws may cause cracks or unnecessary damage.
❌ 3. Skipping the Jointing & Finishing Process
- Unfinished seams can develop cracks over time.
- Always apply joint compound and drywall tape properly.
📌Pro Tip: A well-installed gypsum board should have no visible screws or joint marks once painted.
4️⃣ Why Drywall Screws Are the Best Fasteners for Gypsum Boards
Using high-quality drywall screws ensures secure and durable installations. Here’s why they are better than nails or standard screws:
✅ 1. Superior Holding Power
✔ Provides better grip and stability in gypsum boards.
✅ 2. Corrosion Resistance
✔ Coated with zinc or phosphate to prevent rust.
✅ 3. Prevents Cracking & Loosening
✔ Unlike nails, drywall screws don’t pop out over time.
✅ 4. Suitable for Metal & Wooden Frames
✔ Works with steel, aluminum, and wooden stud frameworks.
📌Pro Tip: Always use self-drilling drywall screws to save time during installation.
Conclusion: The Best Way to Install Gypsum Boards with Drywall Screws
Using the best way to install gypsum boards with drywall screws ensures a professional, smooth, and long-lasting interior finish. Proper installation prevents cracks, improves stability, and enhances fire resistance.
✔Use corrosion-resistant drywall screws for secure fastening.
✔Follow correct screw spacing and depth for optimal grip strength.
✔Apply joint compound and drywall tape properly for a seamless finish.
📌Upgrade your interiors today with Buildwell Gypsum Boards & Drywall Screws – The Trusted Choice for Strong & Beautiful Spaces!🚀
Recent Posts